NARNEW
PRECISION PIPES & MECHANICAL COMPONENTS
MANUFACTURING PROCESSES
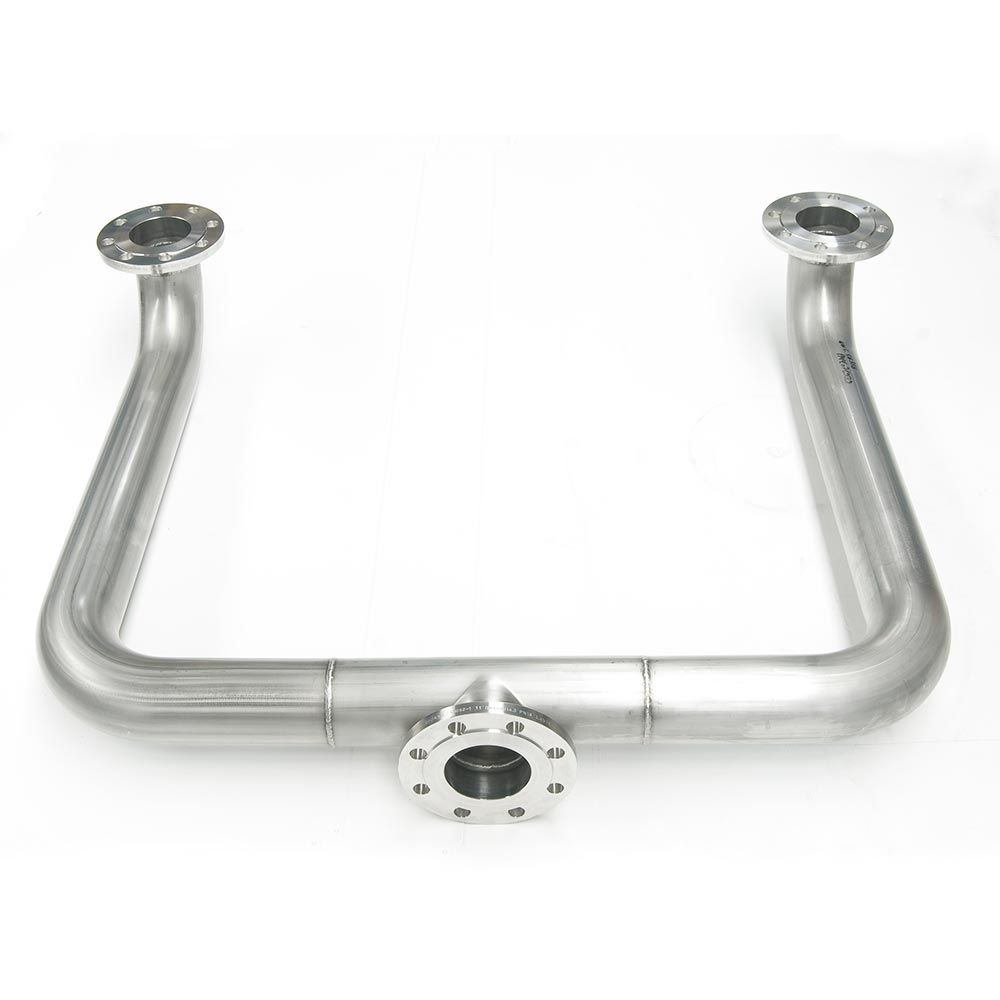
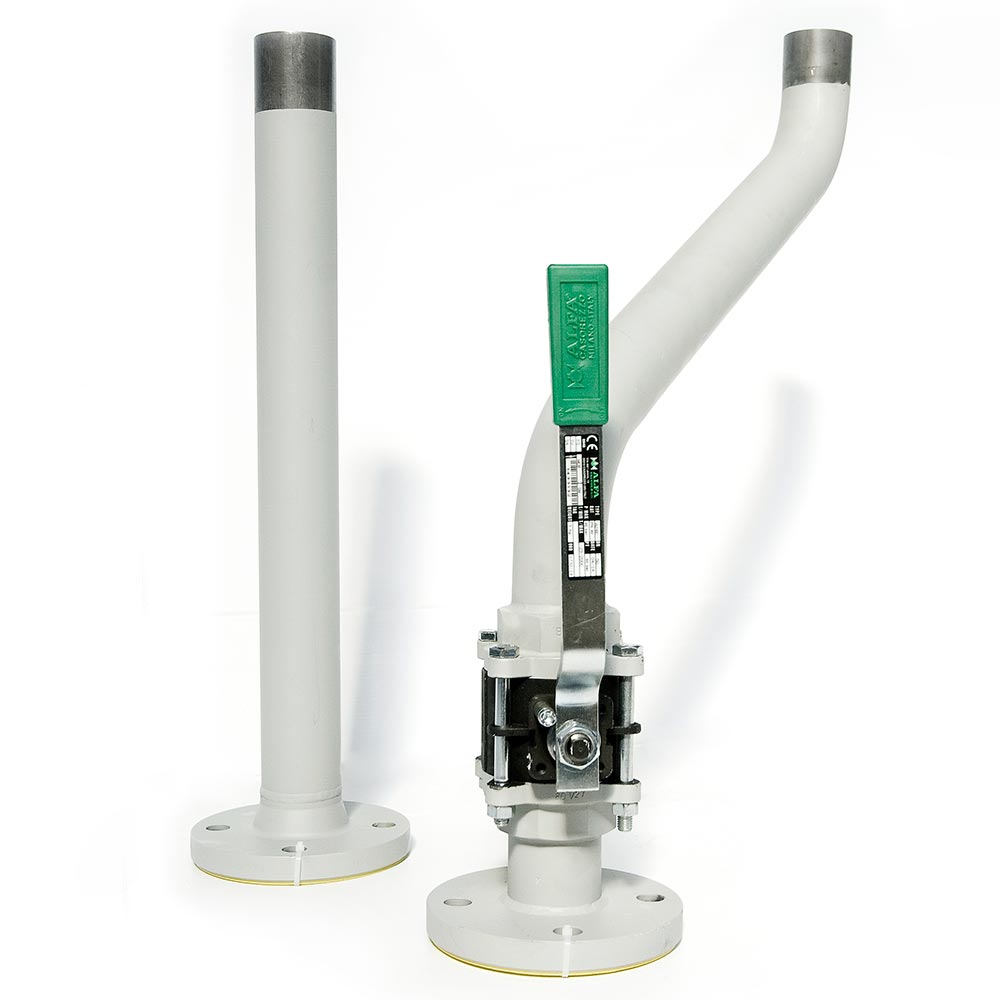
All production processes, cutting, bending, welding, assembly of special parts, valves and insulations, protective treatments, and the controls up to the finished product, are carried out within the company.
BENDING
Latest generation technology for cold bending of pipes up to 140 mm in diameter. The management software of the bending machines calculates the development of the pipes, verifies the feasibility and physical limits of the bending, and allows the correction of the bending data.
All the machines are connected to a control system with 3D visualization which allows us to follow the bending process step by step and make any corrections that are transmitted directly to the bending machines, thus avoiding errors in subsequent cycles.
ASSEMBLY
The pipes produced according to Customer drawings require tight tolerances difficult to obtain without suitable precautions and continuous adjustments of the process during assembly.
To compensate for the deformations caused by welding and to guarantee the finished product within the allowed tolerances, fixed and/or adjustable numerically controlled Jig is used by our world-class, highly skilled welders.
WELDING
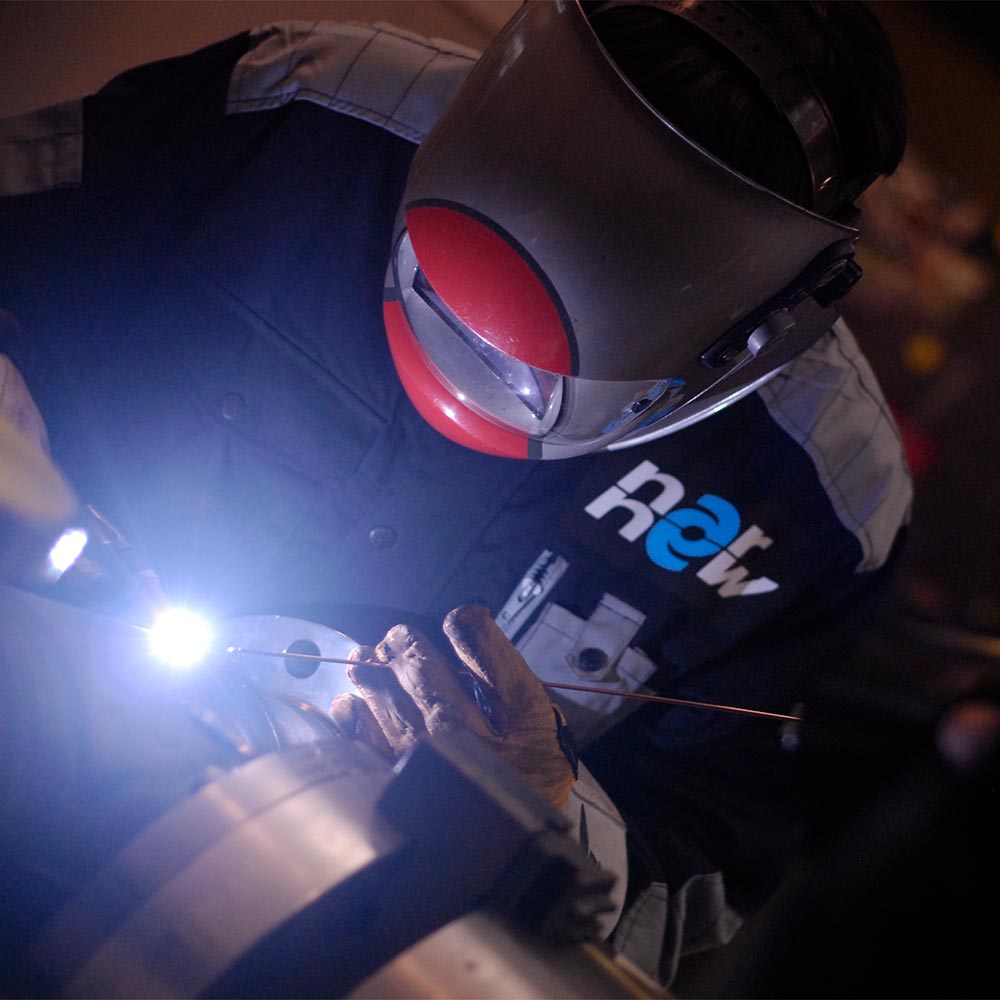
The impossibility to check the weldings without destructive processes makes it necessary to carry out preventive and indirect control. Direct checks of weldings quality without destructive tests is often expensive or not possible. In order to minimize defects, through the years we have assesses robust welding procedures and have qualified all our welders. These qualifications are guaranteed by:
- UNI EN ISO 3834-2 certification
- Qualification of welders ISO 9606-1
- Qualification of welding procedures UNI EN ISO 15614-1
The non-destructive surface and volumetric tests carried out in the company (VT, PT, RT, LT) are performed by qualified personnel in accordance with UNI EN ISO 9712.
The welding processes currently used:
- UNI EN ISO 4063 141 (TIG)
- UNI EN ISO 4063 135 (MAG)
The lifting / handling systems are suitable for the assembly, positioning and welding of large pipes. Pipe assembly is performed with NC (Numerical Controlled) universal mechanical templates.
RADIOSCOPY OF WELDINGS
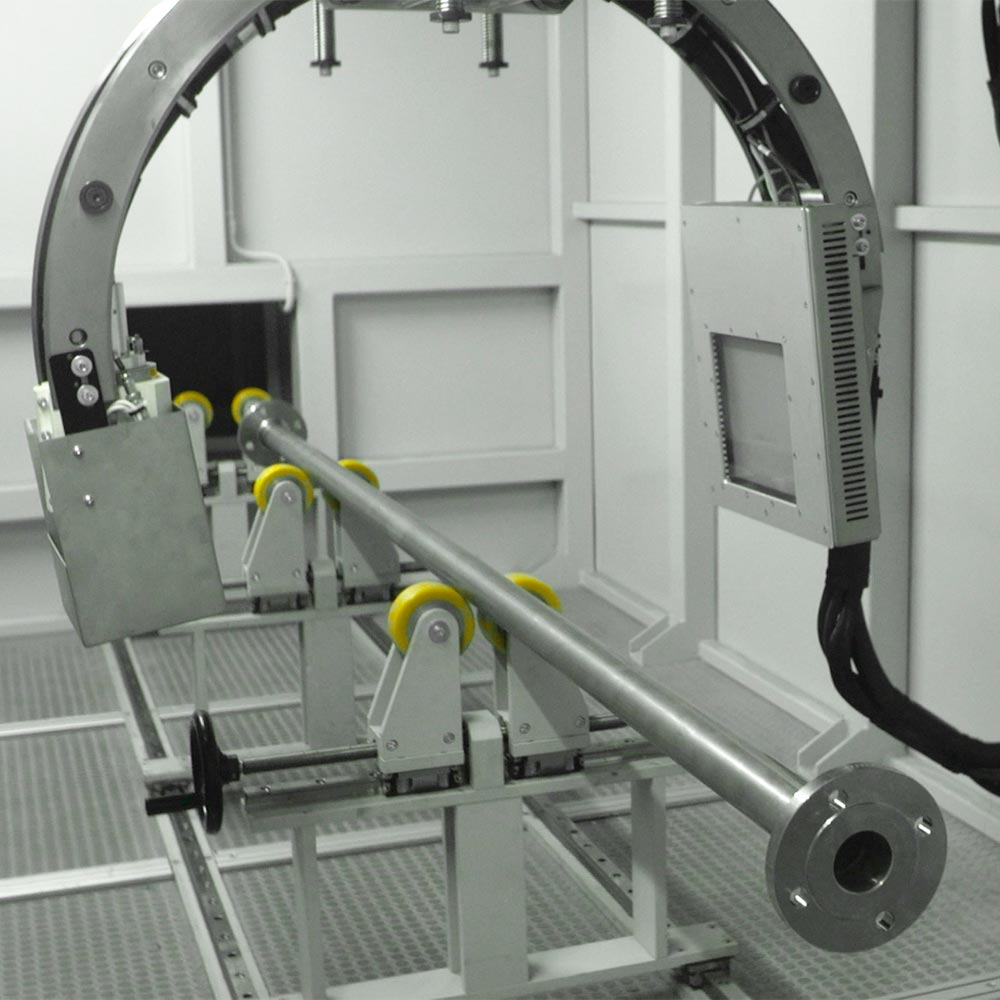
The innovative digital non-destructive X-ray control system allows immediate verification of the quality of the welded joints: it is a very versatile, effective, and fast system, especially when compared to traditional radiographic control. The innovative radioscopic system for non-destructive control of the welds allows the immediate check of the quality of the welded joints.
The system equipped with a screened booth allows salting control even on pipes or manifolds of large size or length as well as double-walled ones. A versatile, effective, and fast system that, compared to traditional radiographic control, guarantees total and more in-depth quality.
The movement of the X-ray source equipped with sensors is remotely controlled and displayed with high-resolution radioscopic images that are stored in various formats as integral parts of the inspection report and viewable on any PC.
The X-ray system complies with UNI EN 13068-3 (X-ray control – Part 3: General principles of X-ray and gamma X-ray control of metallic materials) with Testing class SB.
All operators involved in non-destructive tests are qualified according to UNI EN 9712.

